
Granite is like the pickup truck of countertop materials—tough, dependable, and built to take a beating. But even the toughest trucks get dull paint, tiny dings, and that “seen-a-lot-of-miles” look. If your custom granite countertops in Sullivan’s Island have lost their shine, look cloudy near the sink, or seem to stain if you so much as look at them wrong, you’re not alone. The good news? In many cases, you don’t need replacement—you need restoration.
Why Granite Countertops Lose Their Shine Over Time
Granite doesn’t “wear out” overnight. It slowly gets tired in the way a favorite cutting board does—one meal, one wipe-down, one spilled coffee at a time. The biggest reason granite loses its shine is buildup: cooking oils, soap residue, hard-water minerals, and cleaning products that leave a film. You might be cleaning constantly and still making it worse, which feels unfair… because it is.
Etching vs. Staining: Know the Difference
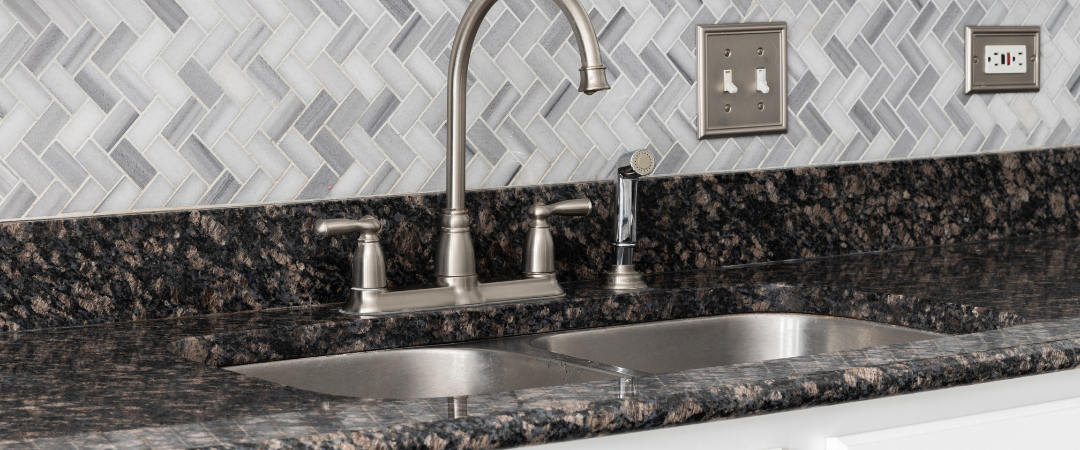
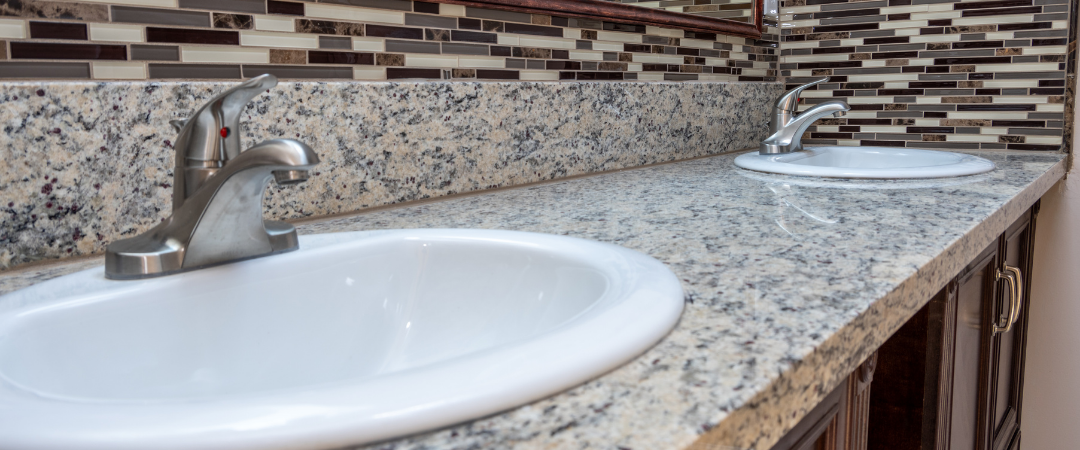
Here’s a simple way to think about it: stains soak in, etching messes up the surface. A stain is like a drop of ink on a paper towel—it gets absorbed and spreads. Etching is more like scuffing a glossy car finish—nothing “soaked in,” but the surface now looks cloudy or dull. Many homeowners assume any mark is a stain, but etching (or surface dullness) is often the real culprit—especially around sinks, soap dispensers, and prep areas.
Scratches, Chips, and Dull Spots
Scratches typically come from grit—sand, crumbs, or tiny particles dragged under something heavy. Chips happen at edges and corners (the granite equivalent of your phone always landing face-down). Dull spots are usually either surface damage from harsh products or a “traffic pattern” where you prep food every day. Think of it like a path worn into grass: it’s not broken, it’s just been used a lot.
Sullivan’s Island Homes: Local Conditions That Matter
Sullivan’s Island’s climate and lifestyle can play a sneaky role in granite wear. Humidity can make residues cling and spread. Hard water can leave mineral deposits around sinks and faucets. If you’re near coastal air or you entertain a lot (translation: more cooking, more wiping, more spills), your stone sees more action. Granite can handle it—but only if it’s sealed, cleaned properly, and occasionally refreshed.
Quick At-Home Test: Does Your Granite Need Sealing?
Want a quick reality check? Try the water-drop test: place a few drops of water on the countertop and let them sit for 10–15 minutes. Wipe it up. If the stone darkens under the water and stays dark for a bit, your granite is absorbing moisture—and it probably needs sealing. If nothing changes, your seal may still be holding. This isn’t a lab test, but it’s a solid “gut check” you can do in a minute.
Step-by-Step Granite Countertop Restoration Process
Restoration isn’t one magic product—it’s a sequence. Like detailing a car, you don’t wax first and hope the dirt disappears. You clean, correct, polish, and protect. Below is the process that typically delivers the best results for custom granite countertops in Sullivan’s Island homes.
Step 1: Deep Clean Without Damaging the Stone
The first step is removing what’s on the granite, not what’s in it. Oils and residues can mimic stains and dullness, so a deep clean matters. The key is using stone-safe, pH-neutral cleaners or a properly diluted degreaser that won’t damage sealers or leave its own film behind. If your granite feels “grabby” or sticky after cleaning, that’s often leftover residue—like trying to wash your hair but never fully rinsing the shampoo out.
Step 2: Remove Stains the Right Way
If there’s an actual stain—wine, coffee, oil, makeup, food coloring—the best approach is usually a poultice. A poultice is basically a targeted “draw-out” paste that sits on the stain and pulls it up over time. This is where patience pays. People rush this step, wipe it off too soon, and then declare the stone “ruined.” It’s not ruined; it just didn’t finish the job.
Step 3: Fix Etching and Cloudiness
Cloudy areas that won’t come clean are often surface damage. This is where honing and polishing come in. Honing smooths the surface—think of it like sanding a scratched headlight lens. Polishing brings back clarity and shine—like buffing that lens until it looks new again. The important part is matching the finish: you don’t want one glossy patch on a custom countertop that’s supposed to be more satin or leathered. That “spot repair” look is the dead giveaway of a rushed job.
Step 4: Repair Chips and Small Pits
Chips along edges can usually be repaired using color-matched epoxy or resin. The goal isn’t just filling the hole—it’s blending it so your eye doesn’t keep getting pulled to that one damaged corner. A good repair should feel smooth to the touch and visually “disappear” unless you’re actively searching for it.
Step 5: Polish to the Finish You Want
Polishing granite is like tuning a guitar—small adjustments make a big difference. Some homeowners want a high-gloss shine. Others want a softer, more modern look. A proper polish restores depth and richness in the stone so the pattern pops again. If your granite looks “flat,” it’s often because the surface has been dulled and covered in residue. Restoration brings the life back.
Step 6: Seal for Long-Term Protection
Sealing isn’t about making granite waterproof like a raincoat. It’s more like applying a stain-resistant guard that slows absorption so spills don’t have time to become permanent. Most professionals use impregnating sealers that soak into the stone’s pores rather than sitting on top like a coating. And yes—there are “one-size-fits-most” sealers, but the best choice depends on your stone density, finish, and how your kitchen actually gets used.
DIY vs. Pro Restoration: What You Can Safely Do
DIY is great for maintenance and minor issues. You can deep clean correctly, use a poultice for small stains, and reseal if you follow instructions carefully. Where DIY gets risky is honing and polishing. One wrong abrasive pad or the wrong technique can leave swirl marks, uneven sheen, or a noticeable “halo” where you worked. If you’ve ever tried to touch up wall paint and ended up with a shiny patch, you know the feeling.
What Restoration Costs in Sullivan’s Island
Restoration pricing depends on what’s actually needed. A simple clean-and-seal is usually less than stain removal plus honing plus chip repair. Factors that affect cost include: total square footage, number of seams, edge style, severity of etching, number of chips, accessibility, and whether the finish needs full-surface blending. The most accurate way to budget is to treat it like car repair: the quote depends on what’s under the hood, not just the model year.
How to Choose a Granite Restoration Pro in Sullivan’s Island
If you’re hiring a professional, don’t just ask, “Do you restore granite?” Ask questions that prove competence:
| What to Ask Before You Hire |
| What restoration steps do you recommend for my issues—and why? |
| Will you hone/polish the entire area to blend the finish, or do spot repairs? |
| What sealer do you use, and is it an impregnating sealer? |
| Can you show before/after photos of similar granite finishes? |
| Do you offer guidance for maintenance products after restoration? |
A solid pro won’t oversell. They’ll explain. If the explanation feels vague, that’s a red flag.
Maintenance Plan After Restoration
Once your granite is restored, maintenance is how you keep it from sliding back into “meh” territory. The goal is simple: keep residue from building and keep spills from sitting.
The “Two-Minute Daily Reset” Routine
Wipe the custom countertop with a microfiber cloth and a stone-safe cleaner (or warm water for light messes). Dry it, especially around sinks. That’s it. Drying sounds extra, but it prevents hard-water spots and soap buildup—two of the most common causes of dullness. It’s like squeegeeing a shower door: small effort, big payoff.
| Cleaner Checklist: What’s Safe and What’s Not |
| Safer options: pH-neutral stone cleaners, warm water, mild dish soap (sparingly), microfiber cloths. |
| Avoid: vinegar, bleach, ammonia, abrasive powders, scrubby pads, and “miracle shine” sprays that leave waxy buildup. |
| If a product smells like it could remove paint, it probably shouldn’t live on your granite. |
When It’s Time to Replace Instead of Restore
Replacement is usually the last resort, but it’s sometimes the smart call. If the granite is severely cracked through the slab, if seams are failing due to substrate issues, or if the layout is changing (new sink size, new cooktop, major remodel), restoration may not be cost-effective. But for most dullness, staining, etching, and small chips? Restoration is exactly the right move.
Conclusion
Restoring custom granite countertops in Sullivan’s Island is often the fastest way to get your kitchen back to looking sharp without paying for a full tear-out. When you understand what you’re dealing with—stain vs. etch vs. buildup—the path forward gets clearer. Clean deeply, correct the surface when needed, repair chips properly, and seal for protection. Treat your granite like a premium surface (not an indestructible one), and it’ll reward you with years of beauty and performance.
Most Frequently Asked Questions about Restoration in Sullivan’s Island
‣ How often should I seal my granite countertops in Sullivan’s Island?
It depends on the stone and how heavily you use the kitchen, but many homeowners reseal every 1–3 years. Do the water-drop test periodically—your granite will tell you when it’s time.
‣ Why does my granite look cloudy near the sink even after cleaning?
That’s commonly surface dullness from soap residue, hard-water deposits, or mild surface etching. If a deep clean doesn’t fix it, honing/polishing is usually the solution.
‣ Can I use dish soap daily on granite?
Occasionally, yes—sparingly. The issue is buildup over time. If you use soap daily and don’t rinse and dry well, you can end up with a film that makes the surface look dull.
‣ Will a sealer prevent all stains?
No sealer makes granite stain-proof. It makes granite more stain-resistant by slowing absorption. Spills still need to be wiped up—just like a “water-resistant” jacket still gets soaked in a storm.
‣ Is polishing granite the same as sealing it?
No. Polishing restores the surface finish and shine. Sealing adds protection against absorption. They work together, but they are completely different steps.